Understanding origins is one of those small skills that makes everything else feel easier: Models place correctly, doors rotate like real doors, and props don’t float where they shouldn’t. If you’ve ever tried to move or rotate something and it spun off in a strange direction, you’ve already met the pivot point. In Blender, the pivot point is called the Origin, and it decides how your object moves, rotates, and behaves.
In this guide, we’ll walk step by step through what the origin is, why it matters, and how you can set it properly in Blender, even if you’re opening the program for the very first time.
Why Does the Origin Matter?
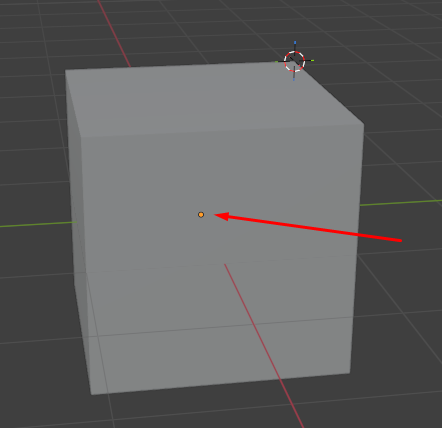
Every object in Blender has an Origin, also called the pivot point, which is shown as a little orange dot when the object is selected.
This origin represents the reference point and location of the object in 3D space. All movements, rotations, and scales are calculated relative to this point.
In Blender, the origin is always the pivot point, that never changes by itself.
But what can change is the mesh around it.
When you switch to Edit Mode, you are only editing the vertices, edges, and faces of the object, not the origin. So if you move or reshape the mesh, the origin stays where it was, and the geometry moves away from it.
That’s why you sometimes see the little orange dot sitting somewhere that doesn’t seem connected to the object anymore.
If the origin is far from the object, rotating or scaling the object will happen around a distant point, which can be very confusing.
For example, if an object’s origin is at its side, the object will rotate around its that side (like a door on its hinge). If the origin is at the center, it will spin around its middle.
In game development engines like Unity, this becomes especially important. The engine uses the object’s origin as the point for placement, rotation, and physics. Unity will rotate or scale the object around that orange origin point. This means if your Blender origin is off, your object will behave oddly in the engine.
It’s usually best to place the origin at a logical spot, so the object behaves naturally. For instance, a character or building might have the origin at the bottom (so it sits on the ground), a wheel or globe might have it at the center (so it spins in place).
How to Set the Origin in Blender?
In Blender, changing an object’s origin is only available in Object Mode.
To do this, you can open a menu for this:
- Select the object whose origin you want to move.
- Right-click on the object (in Object Mode) to open the menu.
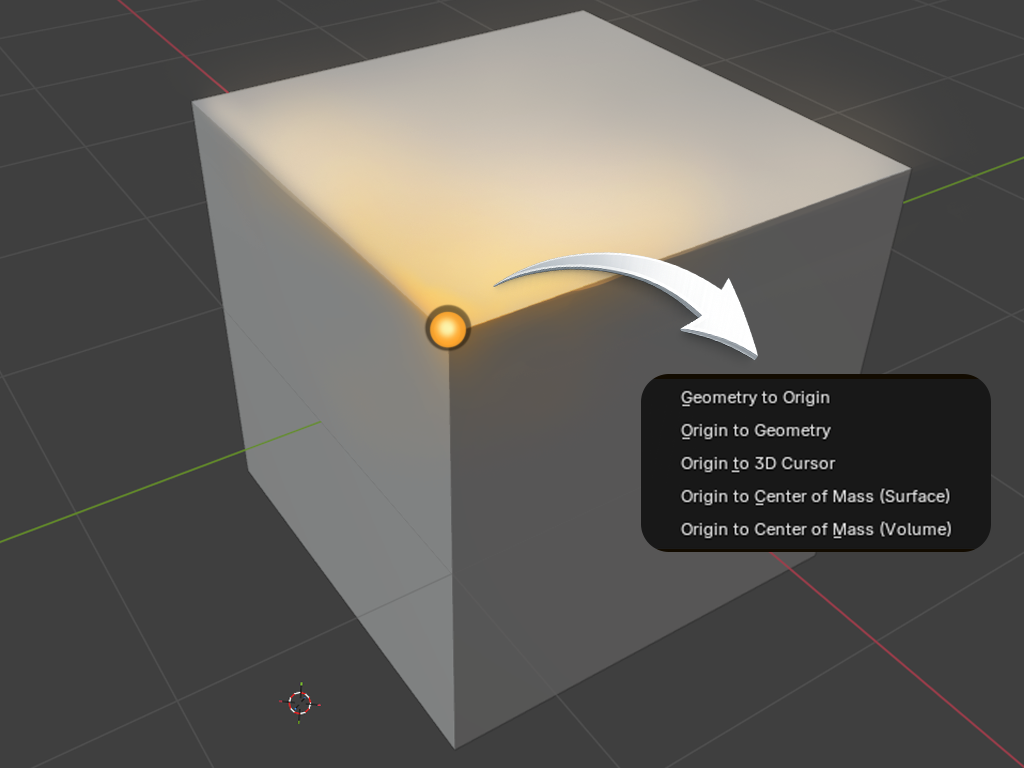
- Choose “Set Origin”. This will open a sub-menu with several options for repositioning the origin.
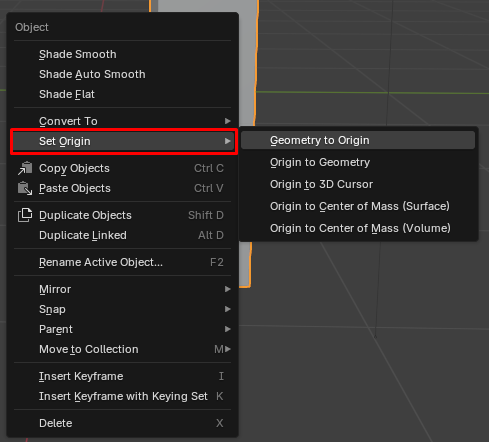
There are multiple ways to set the pivot point in blender. You can also access these options from the top menu via Object > Set Origin.
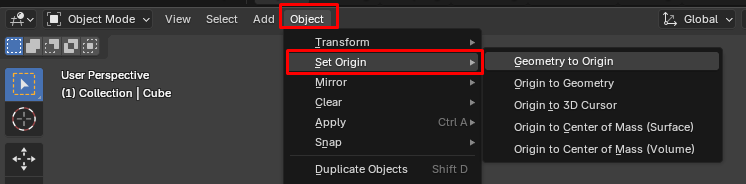
Once you click “Set Origin”, you’ll see multiple ways to adjust the origin, we will go through them one-by-one.
Geometry to Origin
Selecting this will move the object’s geometry to the current origin’s location. This keeps the origin in place and shifts the model so that the orign ends up at the model’s center. This is especially useful, if you want to snap the object to the world origin (0,0,0) or align it exactly to where the origin currently is.
Origin to Geometry
This option moves the origin to the center of your object’s geometry.
Use this if your origin is off-center and you want it right in the middle of the object again.

Origin to 3D Cursor
This moves the origin to the position of the 3D Cursor. The 3D Cursor in Blender looks like a small red-and-white target symbol. Most people describe it as a “sniper target” or a bullseye sitting in 3D space.
When you click in the viewport with Shift + Right-Click, that symbol jumps to wherever you clicked. When opening a new scene you will find it at the center of the scene (0,0,0).
Using “Origin to 3D Cursor” is a great option for precision, because you can place the 3D Cursor anywhere and then set the origin there. The object’s pivot will jump to the cursor’s location.
Origin to Center of Mass
This option calculates the object’s center of mass, either via it’s surface or volume and moves the origin to that point. This often ends up similar to the geometric center, except for asymmetrical shapes, as one side may be “heavier”.
Blender will immediately update the orange dot’s position based on which option you picked.
Placing the Origin at a Specific Spot
Often, you will want the origin at a very specific location, like the bottom of an object. The 3D Cursor is your best option to go.
Here is a common technique to set an origin precisely:
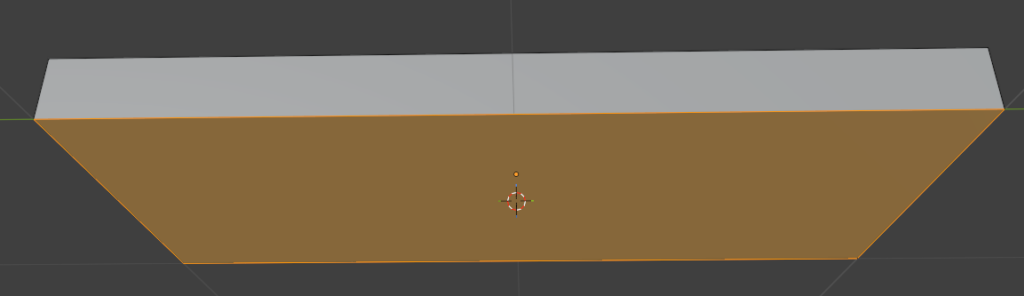
- Enter Edit Mode on your object. Select a vertex, edge, or face where you want the origin to be. For example, if you want the origin at the bottom-center of an object, select a bottom face.
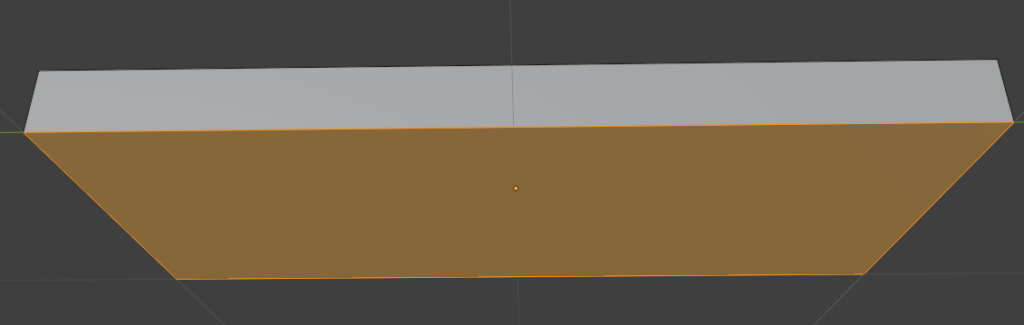
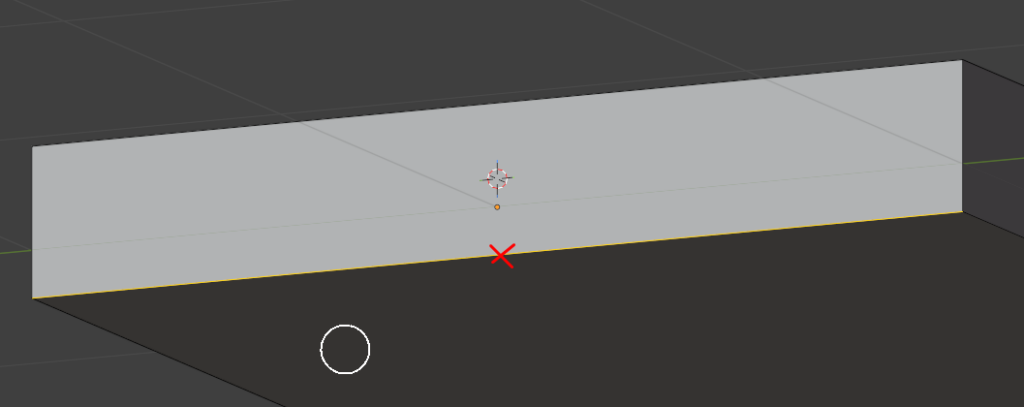
2. Snap the 3D cursor to that selection: press Shift + S and pick “Cursor to Selected“. The 3D Cursor will now jump to the exact spot.
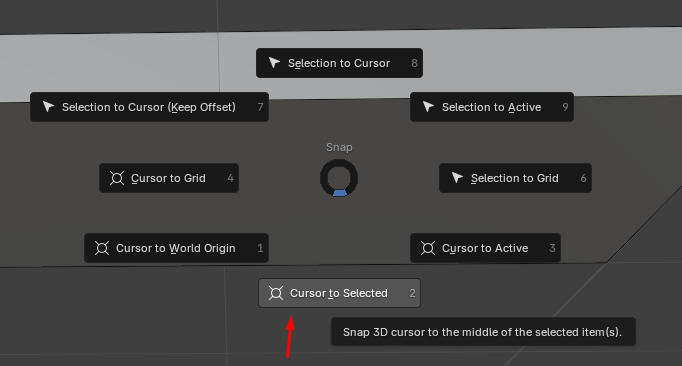
4. You now have the 3D cursor in the middle of the selected face.
5. Switch back to Object Mode. Right-click the object and select:
“Set Origin” > “Origin to 3D Cursor”. This moves the object’s origin to the cursor’s position
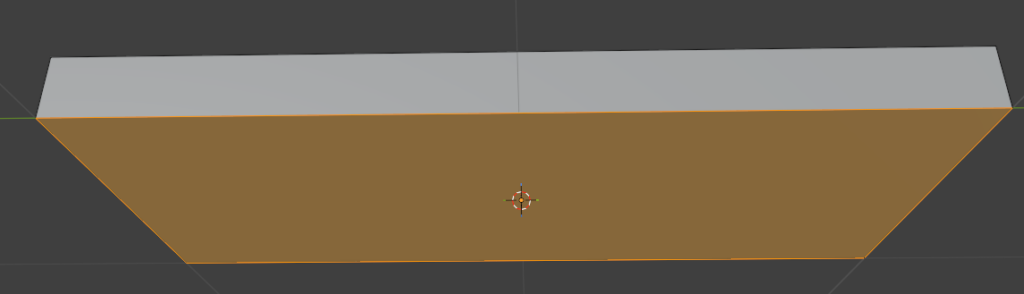
By selecting an edge instead of a face, you can also move the origin to the middle of the selected edge:
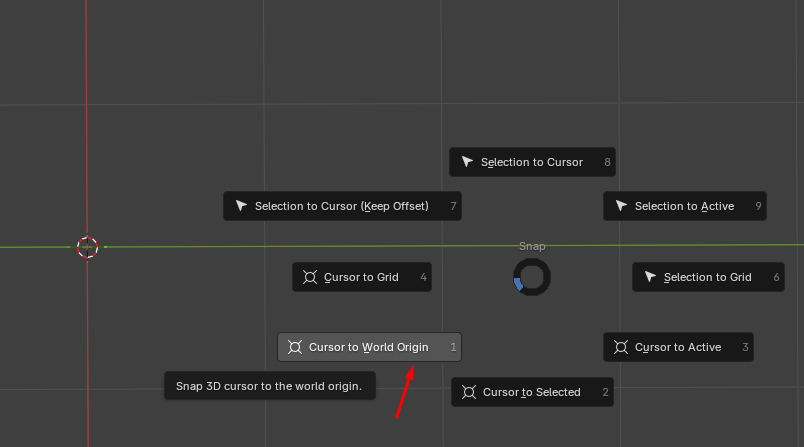
If you have lost your 3D Cursor, simply hit Shift + S and “Cursor to World Origin”.
Moving the Origin with “Affect Only Origins”
Blender also offers a direct way to move the origin. Simply by toggling a special mode. At the top of the 3D Viewport, there is an Options drop-down menu. You can find it in the header on the top-right corner.
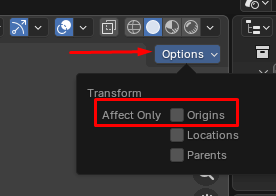
If you enable “Affect Only Origins” in this panel, any move, rotate or scale operations will act only on the origin and not on the object’s mesh.
This means you can simply grab the origin (with the Move tool or G key) and move it to any location you want.
Did You Find This Helpful?
Then check out some of our other beginner-friendly tutorials!
We’re always cooking up something new at Gentleland!
From exciting project updates to behind-the-scenes looks at our journey, we don’t want you to miss a single moment!
Follow us on our social channels to stay in the loop, connect with our team, and get first access to news, events, and opportunities. We’re here for you, and always ready to help fellow creators and game lovers.